You know what they say: “Cleanliness is next to godliness,” especially when it comes to food preparation. Everybody wants to make sure that their food is both scrumptious and healthy to eat. To preserve a healthy kitchen environment, it is essential that we discuss how to sterilize a wooden cutting board today.
Imagine you’re using your dependable wooden cutting board to slice fresh ingredients. Have you ever wondered what lurks beneath the surface? Unseen by human sight, dangerous germs can be growing and present health dangers to you. Sterilization can defend you from these undetectable intruders in this situation by serving as your brilliant knight in shining armor.
Remember, a clean cutting board is the foundation for a wholesome meal. So, let’s roll up our sleeves and delve into the world of sterilizing wooden cutting boards. Your taste buds and your tummy will thank you!
In this guide, we’ll explain how to sterilize wooden cutting board to ensure clean and safe food preparation. We’ll go over the dangers of using an unsterilized board, show you exactly how to sanitize it, and even offer some natural substitutes for those who would rather take a more environmentally responsible route. Prepare to up your kitchen cleanliness game to a whole new level whether you’re a seasoned chef or an aspiring home cook.
Understanding the Risks of Unsterilized Wooden Cutting Boards
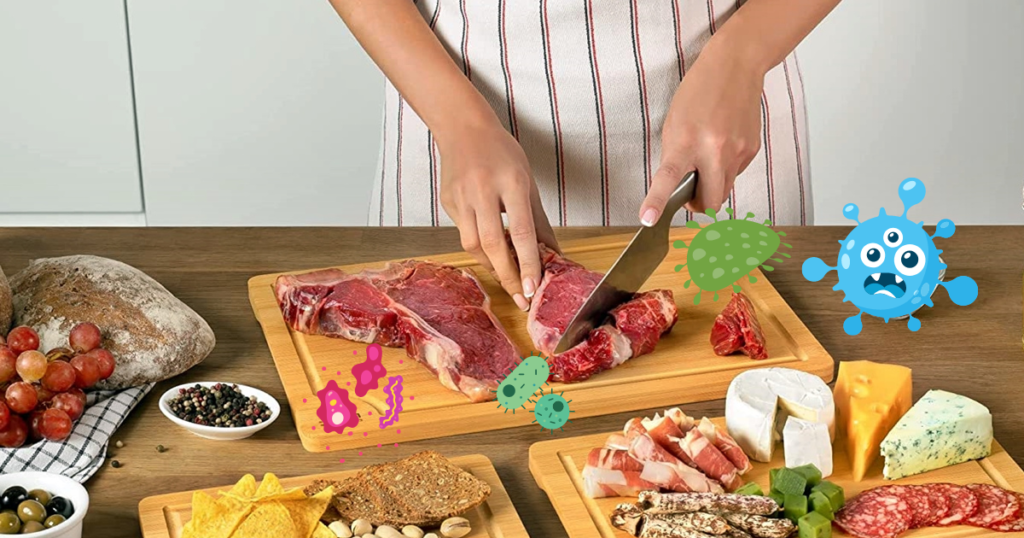
Imagine you are in the kitchen and busy chopping up a delicious lunch using your wooden cutting board. It has been a reliable ally on innumerable culinary journeys. But here’s the catch: Have you ever thought about what might be hiding below it?
Unsanitized wooden cutting boards can develop into a haven for dangerous bacteria, which is a prescription for disaster. Even a small amount of food residue can serve as a warm habitat for bacteria to flourish, putting you and your loved ones at risk.
Bacterial infection is among the gravest risks of utilizing unsterilized cutting boards. Microscopic microorganisms can slip into the cracks and wood grain as you cut into raw meat, juicy fruits, or fresh vegetables. These bacteria may build up over time, creating an environment that is conducive to foodborne diseases.
Consider the possibility that your cutting board contains hazardous bacteria like Salmonella, E. coli, and others. Cross-contamination happens when they come into contact with other foods, and that’s when things can go wrong. The last thing you want to happen is for a dinner party or family get-together to degenerate into an unwelcome health emergency.
After all, prevention is better than cure when it comes to your well-being and the safety of those you care about.
What then is the answer? The secret is to regularly sterilize your wooden cutting board. By include this crucial stage in your cooking process, you can make sure that your meals are prepared in a way that is both tasty and secure.
Gathering the Necessary Supplies
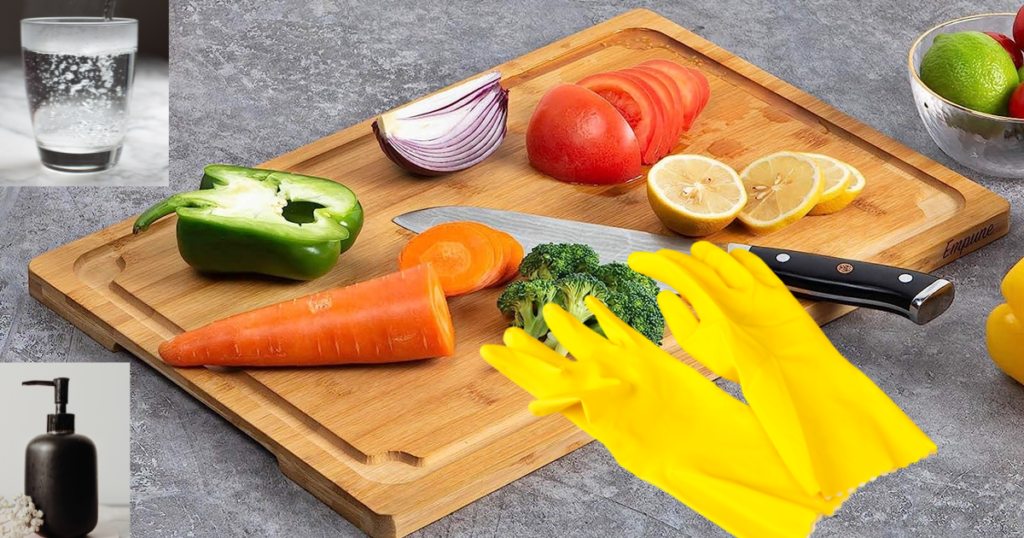
A wooden cutting board must be sterilized, therefore having the necessary equipment on hand is crucial. Here is a list of everything you’ll need to complete the task.
Hot water is first and foremost a basic necessity. It aids in surface debris removal and gets the board ready for sterilization. Additionally, you can think about utilizing food grade hydrogen peroxide, vinegar, or bleach as efficient sterilizers. It’s crucial to make your decision based on your particular tastes and safety considerations because each choice has advantages and drawbacks.
Bleach kills bacteria but should be diluted and used in a well-ventilated area. Vinegar is a natural alternative with antimicrobial properties, while hydrogen peroxide effectively kills bacteria but may cause discoloration on wood.
Remember to sterilize your wooden cutting board regularly using hot water, bleach, vinegar, or hydrogen peroxide to eliminate harmful bacteria and ensure safe food preparation. Prioritize hygiene by making regular sterilization a part of your kitchen routine.
When choosing materials, take into account things like your level of comfort with various options, any potential allergies or sensitivities, and the particular requirements of your cutting board. A successful sterilizing process and a clean, secure cutting board for your food preparation needs are ensured by selecting the appropriate materials based on individual preferences and safety considerations.
Step-by-Step Guide to Sterilizing a Wooden Cutting Board
For safe food preparation, keeping your cutting board free of bacteria is crucial, and we’re here to give you a simple, step-by-step guide. From cleaning to drying, we’ll break down each step in this part so you have all the information you need to keep a cutting board clean and ready for your culinary creations. So let’s get started and learn how to sanitize a wooden cutting board to perfection.
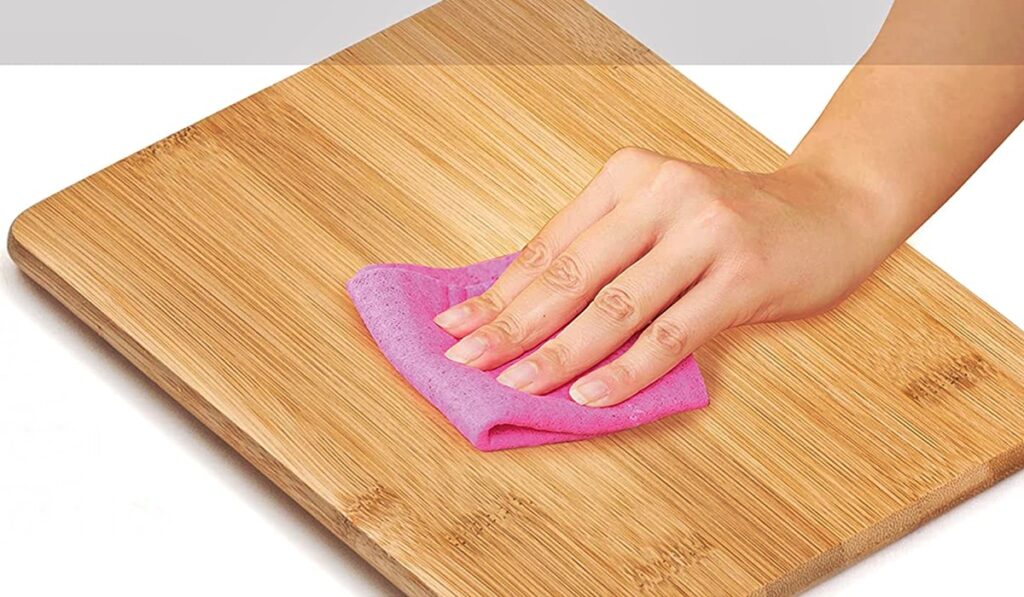
Step 1: With hot, soapy water, start by washing the wooden cutting board. To get rid of any residue or dirt that is visible, scrub the surface vigorously.
Step 2: Apply a sterilizing solution of your choice to the cutting board’s surface, such as vinegar or bleach. Make sure the solution evenly coats the whole board.
Step 3: As advised by the product or solution instructions, leave the sterilizing solution to sit on the cutting board for a particular amount of time. This will give it enough time to completely eradicate any germs or bacteria that may be present.
Step 4: To get rid of any remnants of the sterilizing solution, thoroughly rinse the cutting board with clean water. Be sure to rinse all surfaces, paying special attention to the corners and edges.
Step 5: Finally, completely dry the cutting board before putting it away. To preserve cleanliness and avoid any potential contamination, make sure the board is completely dry since moisture might encourage bacterial growth.
Remember: Clean the wooden cutting board with hot, soapy water before applying a sterilizing solution like bleach or vinegar. Rinse thoroughly, dry completely, and store to maintain a clean and safe cutting board for future use.
You can effectively sterilize your wooden cutting board by following these detailed procedures, providing a clean and safe surface for all of your food preparation needs.
Alternative Natural Methods for Sterilizing Wooden Cutting Boards
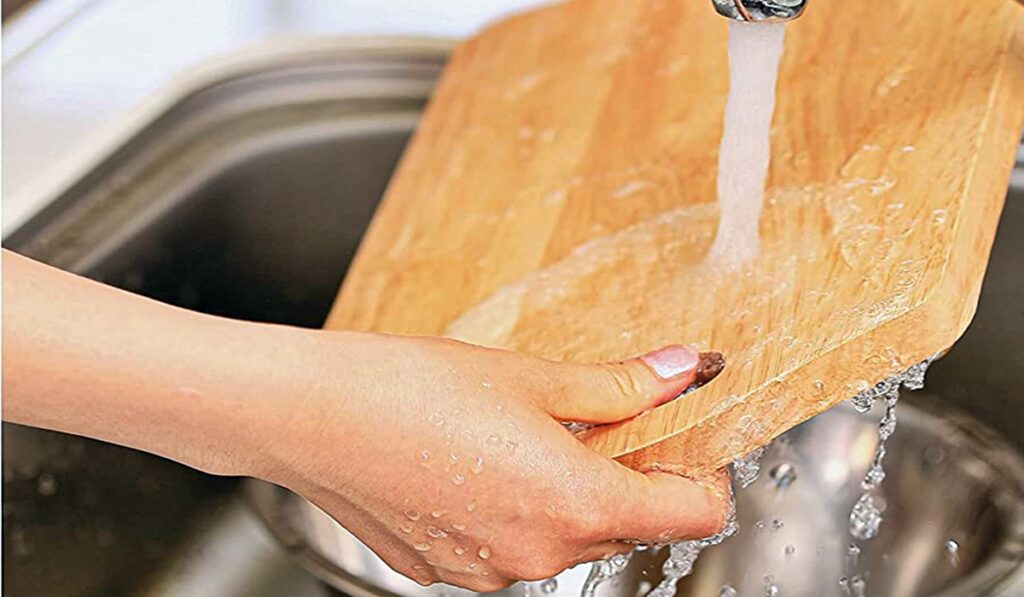
These natural cleaning techniques employing items like lemon, salt, or baking soda can be just what you’re searching for if you favor a more environmentally friendly approach or are sensitive to specific cleaning agents. They not only have antibacterial qualities, but they also have further advantages including getting rid of odors and stains.
Lemon is a healthy alternative because it naturally possesses antimicrobial qualities. Simply split a lemon in half and vigorously rub the cutting board with the cut side down. Before washing the board with water, let the board sit in the lemon juice for a while.
Another effective natural sterilizer is salt. On the chopping board, sprinkle some coarse salt and then rub it in with a lemon slice or a damp towel. This will aid in eradicating any remaining scents and killing microorganisms.
Baking soda can help you get rid of odors or stains that won’t go away. Baking soda and water are combined to make a paste, which is then applied to the board and gently scrubbed. To show a clean and new cutting surface, carefully rinse.
Remember: Explore natural alternatives for sterilizing your wooden cutting board, such as lemon, salt, or baking soda. These methods offer effective cleaning and antimicrobial properties, providing a safe and eco-friendly way to maintain a sanitized cutting board.
Without using harsh chemicals, you may create a clean and disinfected cutting board by including these natural cleaning techniques into your regimen. Let’s examine the detailed instructions for each technique so you have all the information you need to select the natural sterilization strategy that best meets your preferences and requirements.
Additional Tips for Maintaining a Sterile Cutting Board
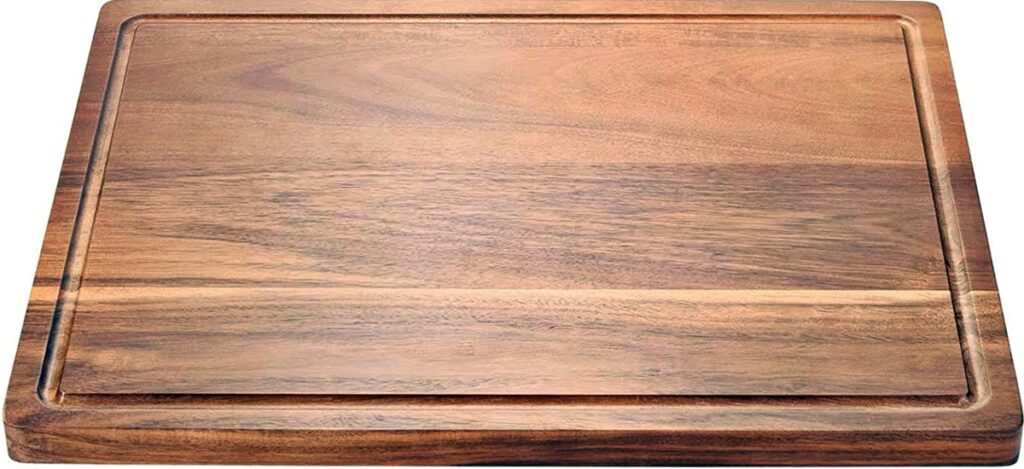
To maintain a sterile cutting board, consider implementing these additional tips. To reduce cross-contamination, first use different cutting boards for various food types. For optimal hygiene, wash your hands both before and after handling the board.
The hardwood cutting board must be regularly oiled to maintain its quality and avoid cracks. Use suggested oils or food-grade mineral oil to keep the surface hydrated and protected.
Remember: Use separate cutting boards for different food types to prevent cross-contamination, and wash your hands before and after handling the board. Regularly oil the wooden cutting board to maintain its quality, and store it in a clean, dry area to prevent contamination.
Keep the board clean, dry, and away from any pollutants when storing and handling it. To minimize moisture buildup, keep the board away from direct contact with countertops and make sure it is completely dry before storage. You can maintain a clean and secure cutting board for your culinary explorations by paying attention to these suggestions.
Wrapping Up!
So there you have it! Sterilizing your wooden cutting board is not only essential but also easy to do. You may successfully get rid of microorganisms and keep a clean cutting surface by using the step-by-step procedure described in this article.
To maintain your cutting board clean and sterilized for all of your culinary pursuits, keep cleanliness a priority in your kitchen and develop a routine sterilizing. Let’s appreciate the importance of cleanliness and the comfort that a disinfected cutting board brings.
Happy cooking!

