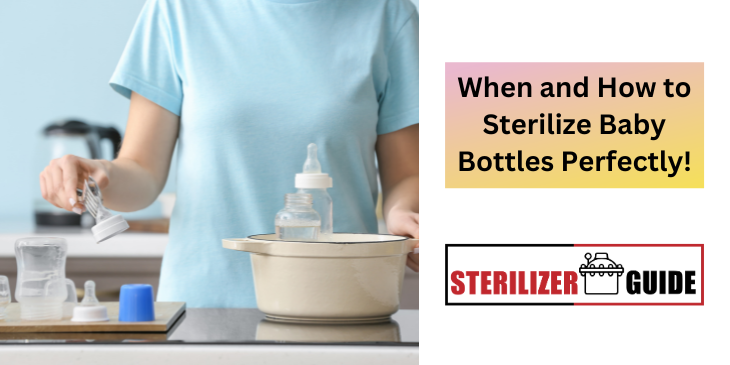
Imagine the vulnerability of your baby’s developing immune system, relying on you to shield them from harmful bacteria and germs. That’s where proper sterilization of baby bottles becomes paramount, safeguarding their health and well-being. By eliminating potentially harmful microorganisms, you establish a clean and hygienic feeding environment, effectively reducing infection risks and ensuring optimal safety.
As you embark on this journey, keep in mind that expert organizations like the Centers for Disease Control and Prevention (CDC), the National Health Service (NHS), and reputable sources such as Pregnancy, Birth, and Baby are dedicated to promoting safe and healthy practices. We have compiled their insights and combined them with additional tips and tricks to bring you a comprehensive resource on baby bottle sterilization.
So, join us as we delve into the world of baby bottle safety, and let’s empower you to provide the best possible start for your little one. By stressing the importance of proper sterilization and unveiling crucial information, we aim to equip you with the knowledge and confidence needed to ensure your baby’s feeding experience is not only nourishing but also safe and secure.
Get ready to embark on a journey that will transform the way you approach baby bottle hygiene and prioritize your child’s well-being.
Understanding the Importance of Baby Bottle Sterilization
The first step in ensuring your baby’s safety is to be aware of the risks related to improper sanitation of baby bottles. Knowing these risks is essential, so every parent should give high importance to sterilizing baby bottles.
The Vulnerable Immune System of Babies: Newborns and infants have delicate immune systems that are still developing. They are more susceptible to infections and illnesses than adults or older children. As a result, it is crucial to take extra precautions to keep their environment clean and free from harmful bacteria or germs.
Eliminating Harmful Pathogens: Baby bottles can harbor harmful bacteria, viruses, and other microorganisms that can cause infections and gastrointestinal issues in infants. These pathogens can contaminate the bottles, teats, and feeding equipment, posing a risk to your baby’s health. Sterilizing the baby bottles effectively eliminates these harmful pathogens, reducing the chances of your baby falling ill.
Preventing Gastrointestinal Infections: Gastrointestinal infections, such as diarrhea and vomiting, are common in babies. These infections can be caused by bacteria like E. coli or Salmonella, which can contaminate bottles that have not been properly sterilized. By sterilizing baby bottles, you significantly reduce the risk of your baby developing such infections and experiencing discomfort and dehydration.
Maintaining Optimal Hygiene: Sterilizing baby bottles goes beyond simply washing them with soap and water. While regular cleaning is essential, it may not completely eliminate all harmful bacteria or germs. Sterilization provides an extra layer of protection, ensuring that the bottles are as hygienic as possible for your baby’s use.
Peace of Mind for Parents: Sterilizing baby bottles offers peace of mind for parents, knowing that they have taken every necessary step to create a safe and clean environment for their little one. It provides reassurance that you are actively reducing the risk of your baby falling ill due to contaminated feeding equipment.
When to Sterilize Baby Bottles for Optimal Safety?
Knowing when to sterilize baby bottles is essential to giving your child the best possible protection. This section will offer advice from reliable sources and guidelines for age-appropriate sterilization.
Before First Use: It is essential to sterilize baby bottles before using them for the first time. Even if the bottles appear clean and new, they may still contain manufacturing residues or contaminants. Sterilizing them ensures that any potential bacteria or germs are eliminated before your baby’s first feeding.
Regular Sterilization for Newborns: For newborns and younger infants, it is recommended to sterilize baby bottles regularly until they reach a certain age. Pediatricians often advise sterilizing bottles for babies up to 3 to 4 months old. During this period, their immune systems are still developing, and they are more vulnerable to infections.
After Illness or Contamination: After your baby has been unwell, it is crucial to sterilize the baby bottles, teats, and feeding equipment. Illness can introduce additional bacteria or viruses into the bottles, and proper sterilization helps eliminate any residual pathogens, preventing reinfection.
Similarly, if the bottles come into contact with any substances or surfaces that may contaminate them, such as unclean water or dirty countertops, it is important to sterilize them to ensure they are safe for use.
When Traveling or Using Unfamiliar Environments: When traveling or using unfamiliar environments, it is advisable to sterilize the baby bottles. Different water sources or hygiene practices in unfamiliar settings may pose risks. Sterilizing the bottles provides an extra layer of protection, ensuring that your baby’s feeding equipment is clean and safe, regardless of the surroundings.
How to Sterilize Baby Bottles: Step-by-Step Guide
Sterilizing baby bottles is a straightforward process that involves a few key steps. By following these steps carefully, you can achieve optimal sterilization and peace of mind.
Step 1: Gather the Necessary Supplies
To begin the sterilization process, gather all the necessary supplies. These typically include:
- Baby bottles
- Nipples
- Bottle brushes
- Tongs or a clean pair of kitchen gloves
- Sterilizing solution
- Clean water
- A large pot or electric sterilizer
- Drying rack or clean towel
Step 2: Clean Bottles Thoroughly
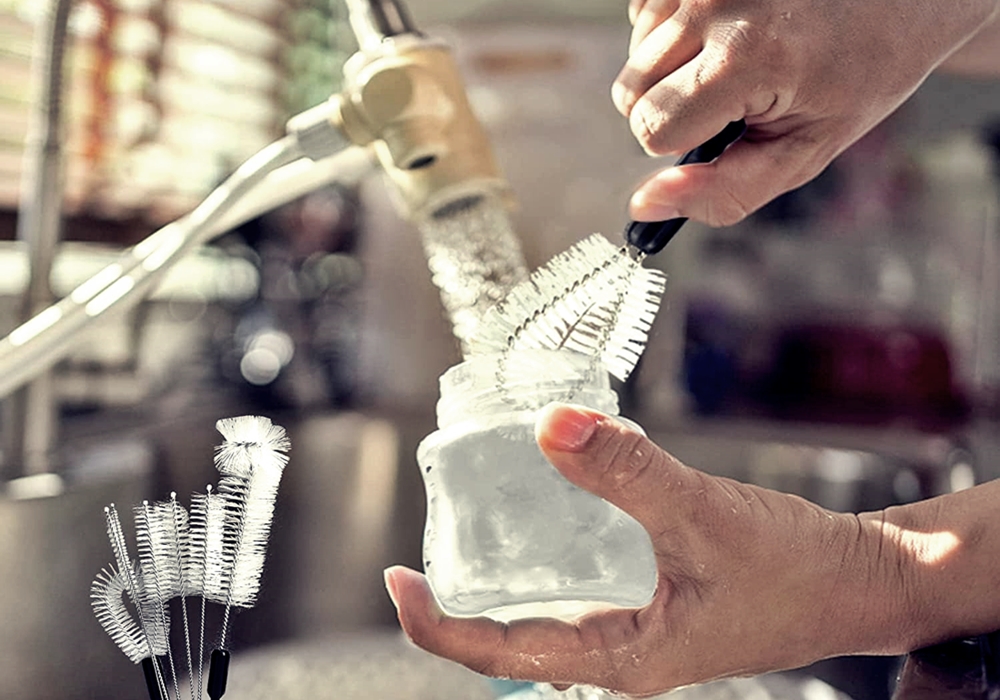
Cleaning the bottles thoroughly before sterilization is crucial for maintaining proper hygiene. By disassembling the bottles and separating the bottle, nipple, and collar, you can ensure that each component receives adequate cleaning.
Rinse each part under warm running water to eliminate any traces of milk or formula. A bottle brush and mild dish soap should be used to scrub the inside and outside of the bottles, ensuring that all surfaces are thoroughly cleaned. It’s important to pay extra attention to the nipple and collar, as these areas can trap bacteria. By using a nipple brush, you can clean the small crevices effectively.
Finally, rinse all the components once again under running water to remove any soap residue, leaving the bottles clean and ready for sterilization.
Step 3: Choose a Sterilization Method
There are several methods available for sterilizing baby bottles. Let’s explore the most common ones:
Sterilizing baby bottles with boiling water
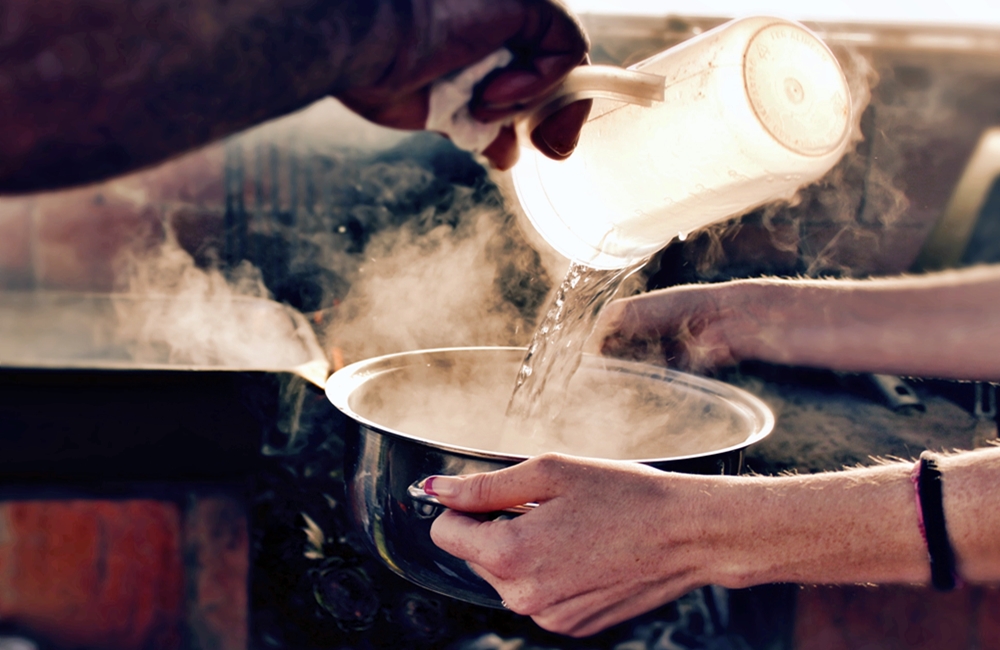
The boiling method is a commonly used and effective way to sterilize baby bottles. Here’s how you can sterilize baby bottles using the boiling method:
- Start by disassembling the baby bottles, separating the bottle, nipple, and collar.
- Fill a large pot with enough water to fully submerge the bottles and their components. It’s important to use a pot that is dedicated solely to sterilizing baby items.
- Place the disassembled bottles, nipples, and collars into the pot. Ensure that they are completely submerged in water.
- Turn on the stove and bring the water to a rolling boil. Let the water boil vigorously for at least 5 minutes to ensure effective sterilization.
- During the boiling process, use a pair of tongs or a clean pair of kitchen gloves to handle the bottles and their components. Avoid using your bare hands to prevent any contamination.
- After the boiling time is complete, carefully remove the sterilized items from the pot using the tongs or gloves. Place them on a clean drying rack or a clean towel.
- Let the bottles and their components air dry completely. Make sure there is no moisture left before assembling them back together.
- Once dry, reassemble the bottles by attaching the nipple and collar to the bottle. Ensure they are tightly secured.
- Store the sterilized bottles in a clean, covered container until they are ready to be used. It’s important to maintain their cleanliness by storing them in a hygienic environment.
The boiling method is a simple and cost-effective way to sterilize baby bottles. It eliminates harmful bacteria and ensures that your baby’s bottles are safe for use. Remember to handle the hot bottles and components with care and allow them to dry thoroughly before use. By following these steps, you can maintain a high level of hygiene and provide a clean feeding environment for your little one.
Sterilizing baby bottles with steam sterilization method
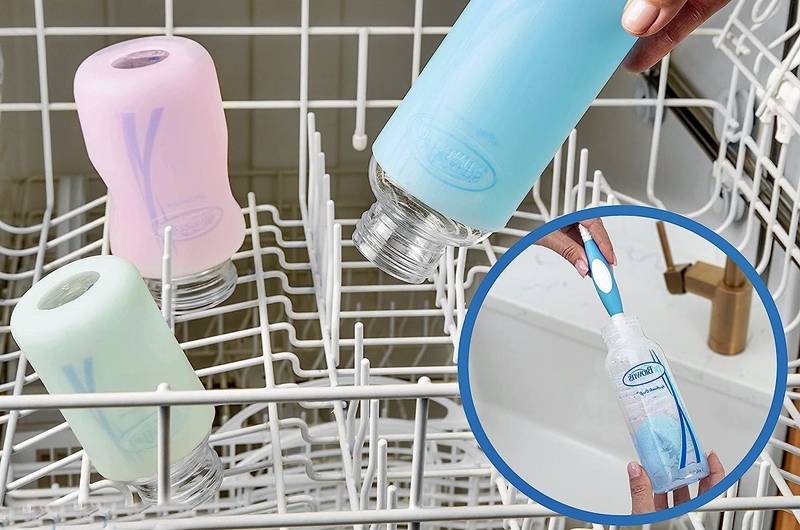
Steam sterilization is another popular method for effectively sterilizing baby bottles. Follow these steps to sterilize baby bottles using steam:
- Begin by disassembling the baby bottles, separating the bottle, nipple, and collar.
- Check the manufacturer’s instructions for your electric steam sterilizer and ensure it is clean and in proper working condition.
- Add the recommended amount of water to the sterilizer’s water chamber. Be sure to use clean, filtered water.
- Place the disassembled bottles, nipples, and collars inside the sterilizer. Make sure they are arranged in a way that allows steam to reach all surfaces.
- Close the sterilizer securely, ensuring a tight seal. Follow the manufacturer’s instructions to operate the sterilizer correctly.
- Turn on the sterilizer and allow it to complete the sterilization cycle according to the recommended time. This usually takes around 10 to 15 minutes, but it may vary depending on your specific sterilizer.
- Once the sterilization process is complete, carefully open the sterilizer, following the manufacturer’s instructions. Avoid steam burns by using oven mitts or heat-resistant gloves.
- Use a pair of tongs or clean kitchen gloves to remove the sterilized items from the sterilizer. Be cautious as they may still be hot.
- Place the sterilized bottles, nipples, and collars on a clean drying rack or a clean towel. Allow them to air dry completely, ensuring there is no moisture left.
- Once the items are dry, reassemble the bottles by attaching the nipple and collar securely.
- Store the sterilized bottles in a clean, covered container until they are ready to be used.
Steam sterilization is a convenient and efficient method that utilizes high-temperature steam to kill bacteria and germs effectively. By following these steps and using a reliable electric steam sterilizer, you can ensure the cleanliness and safety of your baby’s bottles. Remember to handle the hot items with care and allow them to dry thoroughly before use. This method provides a hygienic and convenient way to sterilize baby bottles, giving you peace of mind as you care for your little one.
Sterilizing baby bottles in the microwave
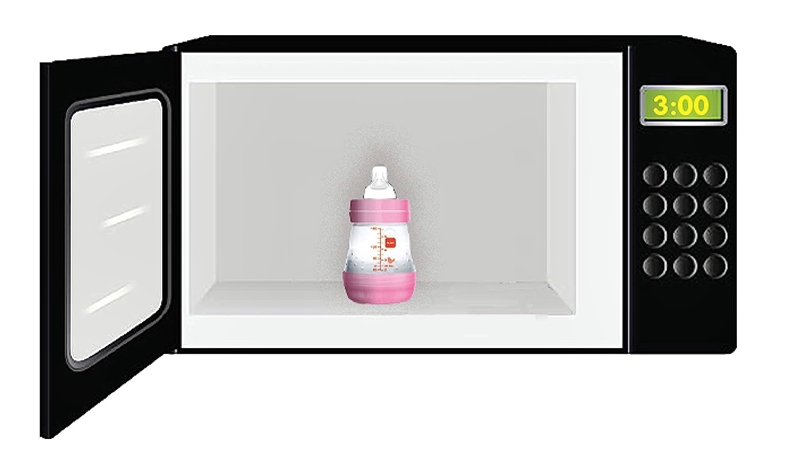
Sterilizing baby bottles in the microwave is a quick and convenient method. Follow these steps to sterilize baby bottles using the microwave method:
- Start by disassembling the baby bottles, separating the bottle, nipple, and collar.
- Thoroughly clean the bottles, nipples, and collars using warm soapy water. Rinse them well to remove any soap residue.
- Place the disassembled bottles, nipples, and collars in a microwave-safe container. Make sure the container is large enough to hold all the items and has a lid or cover to prevent splattering.
- Add water to the container. The amount of water will vary depending on the size of the container and the microwave wattage. Generally, it’s recommended to use enough water to fully submerge the bottles.
- Place the lid or cover on the container, leaving a small vent for steam to escape. This helps prevent excessive pressure buildup.
- Carefully place the container in the microwave. Make sure it is centered and not touching the sides of the microwave.
- Set the microwave to high power and heat the container for the recommended time. This can vary depending on the wattage of your microwave and the specific instructions provided by the bottle manufacturer. Typically, microwaving for 2-5 minutes is sufficient.
- After the microwaving time is complete, use oven mitts or heat-resistant gloves to carefully remove the container from the microwave. Be cautious as it will be hot.
- Allow the container to cool down for a few minutes before opening it. Steam will have built up during the sterilization process, so exercise caution to avoid burns.
- Once the container is cool enough to handle, carefully remove the sterilized items using clean tongs or kitchen gloves. Be cautious as they may still be hot.
- Place the sterilized bottles, nipples, and collars on a clean drying rack or a clean towel. Allow them to air dry completely, ensuring there is no moisture left.
- Once the items are dry, reassemble the bottles by attaching the nipple and collar securely.
- Store the sterilized bottles in a clean, covered container until they are ready to be used.
Microwave sterilization offers a convenient and efficient way to sterilize baby bottles. By following these steps and taking necessary precautions, you can effectively eliminate bacteria and ensure the cleanliness of your baby’s feeding equipment. Remember to use a microwave-safe container, add enough water, and follow the recommended time provided by the bottle manufacturer. With proper care and attention, microwave sterilization can provide a quick and reliable method for maintaining a hygienic feeding environment for your little one.
Is it bad to sterilize baby bottles in the microwave?
Oh, yes, microwaving baby bottles for sterilization is generally not the best idea. While it might seem like a quick fix, it’s not the safest method. Microwaves can create uneven heating, leaving some areas insufficiently sterilized, and that could be risky for your baby’s health.
There’s also the concern of potential hot spots that might burn your baby or even damage the bottles, especially if they have any metal parts or components not meant for microwave use. Safety first, right?
For proper sterilization, it’s best to stick to using a bottle sterilizer or boiling them in water on the stove. These methods ensure consistent and thorough sterilization, keeping your little one safe from harmful bacteria.
Sterilizing baby bottles with the chemical sterilization method
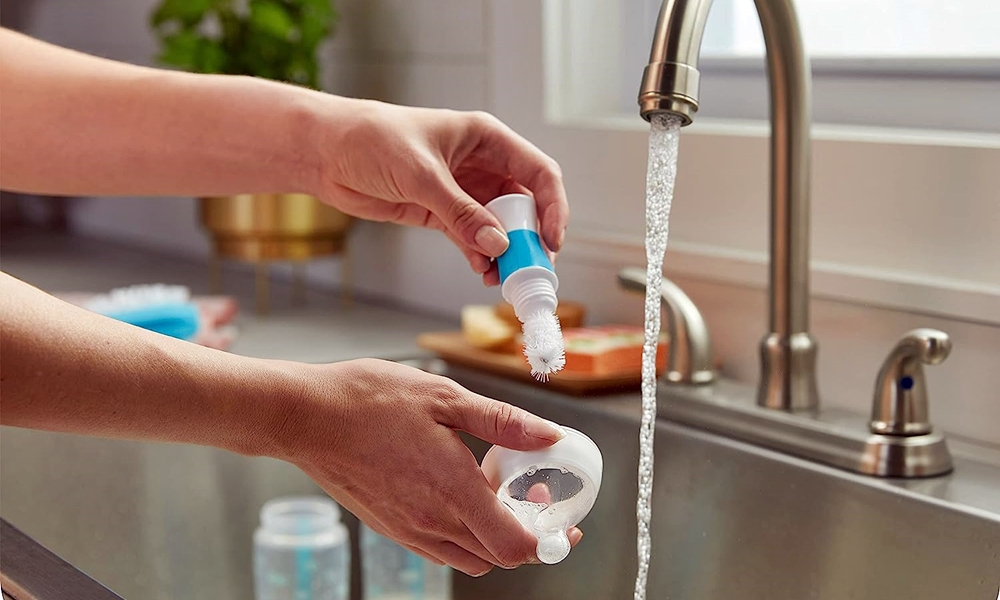
Chemical sterilization is another method that can effectively sterilize baby bottles. Follow these steps to sterilize baby bottles using the chemical sterilization method:
- Start by disassembling the baby bottles, separating the bottle, nipple, and collar.
- Read and carefully follow the instructions provided with the sterilizing solution or tablets. Different brands may have specific guidelines for dilution and usage.
- Prepare the sterilizing solution by diluting it with clean water according to the instructions. Use a clean container and ensure accurate measurements.
- Submerge the disassembled bottles, nipples, and collars into the prepared sterilizing solution. Ensure that all components are fully immersed.
- Allow the items to soak in the sterilizing solution for the recommended duration. Typically, this can range from 15 to 30 minutes. Refer to the instructions provided by the manufacturer for the specific time required.
- While the items are soaking, ensure proper ventilation in the room as some sterilizing solutions may emit strong odors.
- After the recommended time has passed, remove the sterilized items from the solution. Use clean tongs or clean kitchen gloves to handle the items and avoid contamination.
- Rinse each component thoroughly under clean, running water to remove any residue from the sterilizing solution.
- Place the sterilized bottles, nipples, and collars on a clean drying rack or a clean towel. Allow them to air dry completely, ensuring there is no moisture left.
- Once the items are dry, reassemble the bottles by attaching the nipple and collar securely.
- Store the sterilized bottles in a clean, covered container until they are ready to be used.
Chemical sterilization provides an effective method for killing bacteria and germs on baby bottles. By following these steps and using the recommended sterilizing solution or tablets, you can ensure the cleanliness and safety of your baby’s feeding equipment. Remember to handle the items with clean tongs or gloves, rinse them thoroughly, and allow them to air dry completely. Chemical sterilization is a reliable method that helps provide a hygienic feeding environment for your little one.
Step 3: Drying and Storage
After completing the sterilization process, it is crucial to ensure proper drying and storage of the baby bottles to maintain their cleanliness and hygiene.
To begin, place the sterilized items, including the bottles, nipples, and collars, on a clean drying rack or a towel. This allows for adequate airflow and facilitates the drying process. By placing them on a clean surface, you minimize the risk of introducing any contaminants.
Allow the items to air dry completely, taking care to ensure that there is no moisture remaining. Proper drying is essential as it helps eliminate any remaining moisture that could potentially harbor bacteria or germs. Be patient and give the items enough time to dry thoroughly.
Once the bottles, nipples, and collars are completely dry, it is time to reassemble them. Carefully attach the nipple and collar securely to the bottle, ensuring a tight fit. This step prepares the bottles for storage and ensures they are ready for future use.
Do i have to sterilize baby bottles every time?
Well, it depends on how you plan to clean and use the bottles. Sterilizing baby bottles is essential to kill harmful bacteria and ensure your baby’s safety, especially when they are very young and have a weaker immune system. If you want to be extra cautious, it’s a good idea to sterilize the bottles before each use.
However, as your baby grows older and becomes more robust, you might be able to relax the sterilization routine a bit. Many parents switch to thoroughly cleaning the bottles with hot, soapy water and using a bottle brush to ensure they are clean and safe for their little one.
Ultimately, it’s up to you to decide how frequently you want to sterilize the bottles based on your baby’s age, health, and your comfort level. If you have any doubts or concerns, it’s always a good idea to consult with your pediatrician for personalized advice.
Quick and Time-Saving Baby Bottles Sterilization Hacks without Compromising Safety
As a busy parent, finding efficient ways to sterilize baby bottles can be a game-changer. In this section, we will explore quick and time-saving sterilization methods and share insider shortcuts to help you save time without compromising the safety of your little one.
When time is of the essence, try these swift and efficient sterilization methods:
Electric sterilizers: Invest in an electric sterilizer, which offers a quick and hassle-free way to sterilize multiple bottles and accessories simultaneously. These sterilizers can kill bacteria and germs, providing efficient sterilization in a matter of minutes.
Sterilizer bags: Sterilizer bags are convenient and portable options for on-the-go parents. Simply place the bottles, teats, and accessories in the bag with the recommended amount of water, seal it, and microwave it according to the instructions. Within a few minutes, the sterilization process is complete.
UV sterilizers: UV sterilizers use ultraviolet light to kill bacteria and germs. They offer a quick and chemical-free sterilization method. Place the bottles and accessories in the UV sterilizer and let the device do its work. In a short amount of time, your baby’s bottles will be sterilized and ready for use.
Sterilizing wipes: Sterilizing wipes are handy for quick sterilization when you’re on the go or in a pinch. These wipes are pre-moistened with a sterilizing solution. Simply wipe the bottles, teats, and accessories thoroughly, and they’re ready for use. However, keep in mind that wipes may not be as effective as other methods for thorough sterilization.
By incorporating these smart solutions into your routine, you can save time and efficiently sterilize your baby bottles.
Common Mistakes to Avoid When Sterilizing Baby Bottles
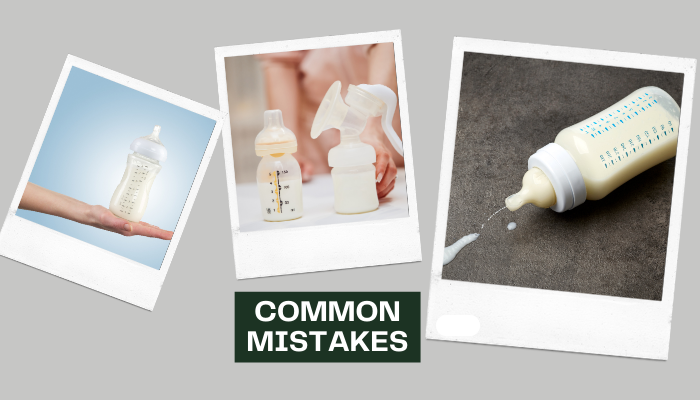
Even with the best intentions, it’s easy to make mistakes when sterilizing baby bottles. In this section, we will highlight some common pitfalls and provide guidance on how to prevent them, ensuring the safety of your little one. To avoid common sterilization errors, keep these points in mind:
Remember, If you experience difficulties with the sterilization process, refer to the manufacturer’s troubleshooting guide or contact their customer support for assistance.
Insufficient cleaning: Failing to clean the bottles thoroughly before sterilization can compromise the effectiveness of the process. Always clean the bottles, teats, and accessories with warm soapy water before proceeding with sterilization.
Incorrect water temperature: When using the boiling method, ensure that the water reaches a rolling boil for at least 5 minutes. Inadequate boiling can leave behind harmful bacteria. Use a timer to ensure the bottles are sterilized for the recommended duration.
Overcrowding the sterilizer: Whether using an electric sterilizer, microwave sterilizer, or chemical sterilization method, avoid overcrowding the equipment. Give each item enough space for the sterilization process to work effectively.
Improper storage: After sterilization, store the bottles and accessories in a clean, covered container. Avoid leaving them exposed to dust or other contaminants that can compromise their cleanliness.
Forgetting to wash hands: Always wash your hands thoroughly with soap and water before handling the sterilized bottles. This step helps maintain a hygienic environment and prevents the transfer of bacteria to the bottles.
By being aware of these common pitfalls, you can ensure that your sterilization process is effective and free from errors.
Beyond Sterilization: Ensuring Overall Bottle Safety
Once you have sterilized your baby bottles, it’s important to maintain a clean and safe feeding environment. In this section, we will discuss additional measures and tips to ensure overall bottle safety for your little one.
In addition to sterilization, regular cleaning of baby bottles is crucial for maintaining their cleanliness and preventing the growth of bacteria. Follow these cleaning tips to keep your baby’s bottles pristine:
- After each feeding, rinse the bottle and teat with warm water to remove any leftover formula or breast milk.
- Use a bottle brush specifically designed for baby bottles to clean the inside and outside of the bottles thoroughly.
- Pay extra attention to the teat/nipple, as milk residue can easily accumulate and lead to bacterial growth. Gently scrub the teat with the brush to ensure it’s clean.
- Avoid using abrasive cleaners or harsh chemicals that may damage the bottles or leave residue. Stick to mild dish soap and warm water for cleaning.
- Rinse the bottles and teats thoroughly with clean water to remove any soap residue.
- Allow the bottles and teats to air dry on a clean drying rack or towel. Avoid using cloth towels, as they can harbor bacteria.
By incorporating these cleaning practices into your routine, you can maintain a pristine environment for your baby’s bottles.
Wrapping Up!
Sterilizing baby bottles is a vital part of maintaining your child’s health and safety. To ensure optimal safety and hygiene, it is important to sterilize baby bottles at specific times. Sterilize the bottles before first use, regularly for newborns, after illness or contamination, and when traveling or using unfamiliar environments. Remember, regular cleaning is essential but does not replace the need for sterilization.
Remember to choose a sterilization method that suits your needs and preferences, whether it’s boiling, steam sterilization, or chemical sterilization. With proper care and hygiene, you can provide the best feeding experience for your little one.

