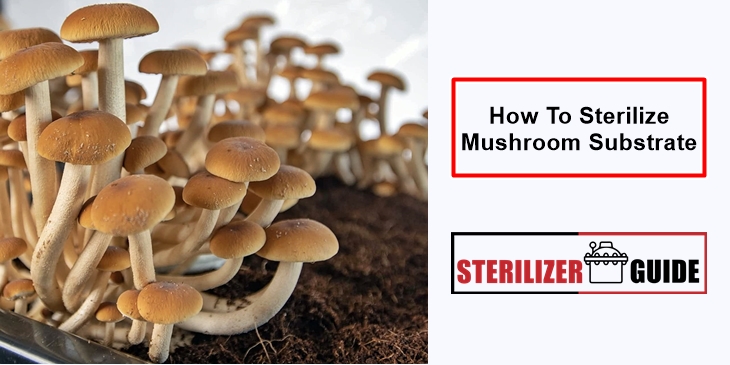
Mushroom cultivation can be a rewarding hobby or a profitable business venture. However, to achieve success in cultivating mushrooms, it’s essential to ensure that the substrate used to grow the mushrooms is free of contaminants that can compromise the growth of the mushrooms.
You could jeopardize your entire crop if you lack the equipment or expertise to sterilize the mushroom substrate. There are many ways to sterilize the substrate, but they are not always quick and don’t always guarantee safety.
In this blog post, we’ll explore the complete process of how sterilizing mushroom substrate. We’ll cover all the bases from creating a proper sterile environment to sterilizing your materials. We’ll also provide some helpful tips and tricks to ensure that you have the best chance of success in your mushroom cultivation efforts.
Our Recommended Sterilized Mushroom Substrates:
1. MushroomSupplies.com Mushroom Substrate (click here to view)
2. Boomr Bag (5 lbs) Sterile Manure-Based Bulk Mushroom Substrate (click here to view)
3. Pasteurized Manure Based Mushroom Substrate in Mushroom Grow Bag (click here to view)
4. MycoHaus 10 Pounds Sterilized Compost Mushroom Substrate (click here to view)
5. 5lb Sterilized and Sealed Mushroom Growing Bulk Substrate-100% Plant Based Substrate (click here to view)
Preparing The Mushroom Substrate for Sterilization
Preparing your mushroom substrate for sterilization is the first step to creating a successful spawn run. You want to make sure that you prepare your substrate well before you use it. You should also make sure that you sterilize your substrate as if you were going to use it for your next spawn run.
If you are going to harvest your mushrooms, you will have to sterilize your substrate again. Let’s check out how we can prepare the mushroom substrate.
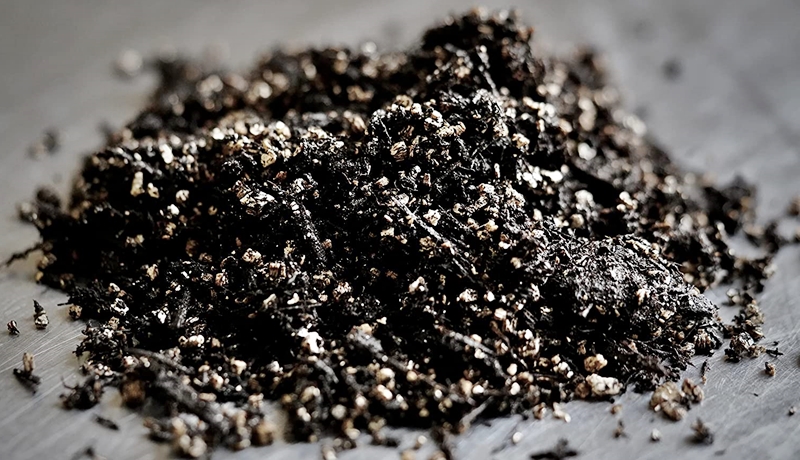
Step 1 – Gather the substrate materials
Depending on the type of mushroom you are growing, you may need to use different types of substrates. Common substrates include coco coir, straw, sawdust, and composted manure. Make sure to obtain the highest quality substrate you can find, as this will impact the success of your mushroom growth.
Step 2 – Moisturize the substrate
Before you sterilize the substrate, you need to ensure that it is at the right moisture level. Aim for a moisture content of around 60-70%, as this is the ideal range for most mushrooms. To achieve this, you may need to add water to the substrate and mix it well.
Step 3 – Clean the substrate
Make sure that the substrate is as clean as possible before sterilization. Remove any visible debris, dirt, or mold that could contaminate the sterilization process.
Step 4 – Pack the substrate
Once the substrate is clean and moist, pack it tightly into sterilization bags or jars. Make sure that there is plenty of room for the substrate to expand during sterilization, as this will help to ensure that it is evenly sterilized.
Step 5 – Seal the substrate
Depending on the type of sterilization method you plan to use, you will need to seal the bags or jars with airtight lids or covers. This will help to prevent any contaminants from entering the substrate during sterilization.
Common mistakes to avoid during the process:
- Using contaminated substrate
- Using substrate that is too dry or too wet
- Packing the substrate too tightly
- Not sealing the bags or jars properly
- Using unsterilized equipment
- Not cooling the substrate properly
Choosing a Sterilization Method for The Mushroom Substrate
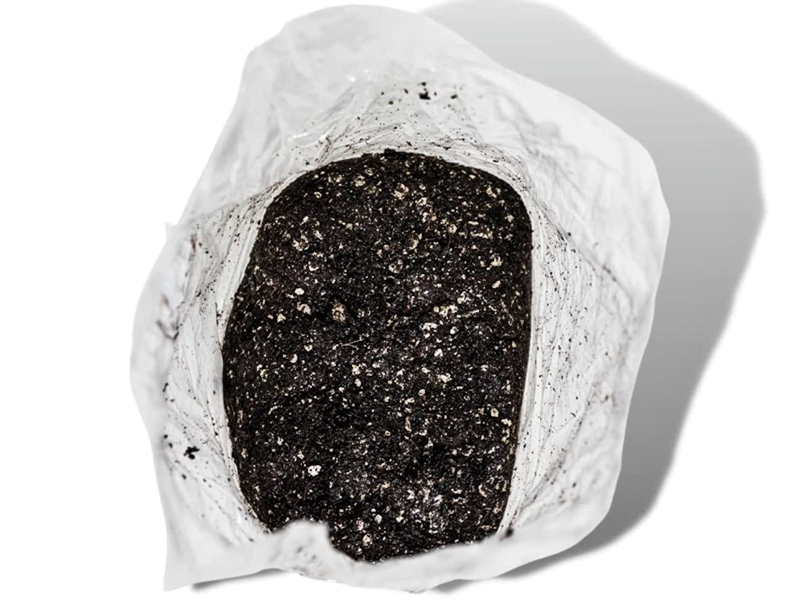
The most important part of the mushroom growing process is the sterilization of the substrate. Without this crucial step, your substrate will be home to many bacteria and contaminants, ultimately making your substrate unsafe for use.
In order for the substrate to be sterilized, you will have to choose a sterilization method. There are several sterilization methods available for mushroom substrates, each with its advantages and disadvantages. This guide will be able to help you figure out which methods are safe for your mushroom and what the best method for your specific needs and budget would be.
How to sterilize mushroom substrate with a pressure canner & cooker?
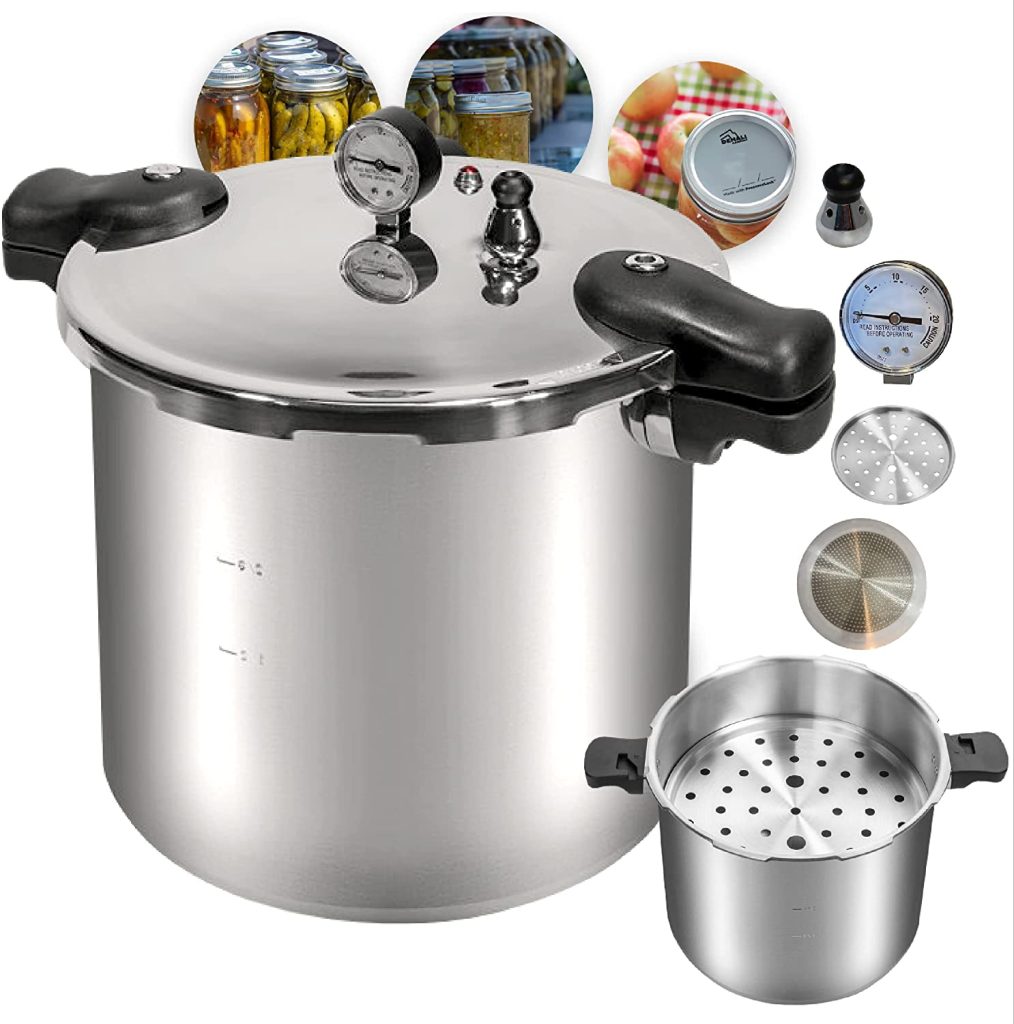
Sterilizing mushroom substrate with a pressure canner & cooker is a common practice in mushroom cultivation. Here are the steps to sterilize mushroom substrate with a pressure cooker:
Prepare your mushroom substrate: You can use various materials as mushroom substrates such as sawdust, straw, or compost. You should first prepare your substrate according to your chosen method and recipe.
Load your pressure cooker: Once your substrate is ready, you should load it into your pressure cooker. Make sure to leave some space at the top of the pressure cooker for the steam to circulate.
Add water: You should then add water to your pressure cooker. The amount of water you should add depends on the size of your pressure cooker. Most pressure cookers have a minimum fill line that you should not go below.
Close the lid: After adding water, close the lid of the pressure cooker and make sure it is locked in place.
Heat the pressure cooker: Place the pressure cooker on the stove and heat it until it reaches the required pressure. The required pressure depends on your recipe, but it is typically around 15 psi. Once the pressure is reached, reduce the heat to maintain the pressure.
Sterilize the substrate: The sterilization time depends on the type of substrate you are using and your recipe. In general, most substrates require at least 60-90 minutes of sterilization at 15 psi.
Cool down and remove the substrate: After the sterilization time is complete, turn off the heat and allow the pressure cooker to cool down completely before opening it. Once it is safe to open, carefully remove the substrate from the pressure cooker and use it for your mushroom cultivation.
Note that the sterilization process is critical for the success of your mushroom cultivation, so it is important to follow your recipe carefully and ensure that your pressure cooker is functioning correctly.
How to sterilize mushroom substrate without a pressure cooker?
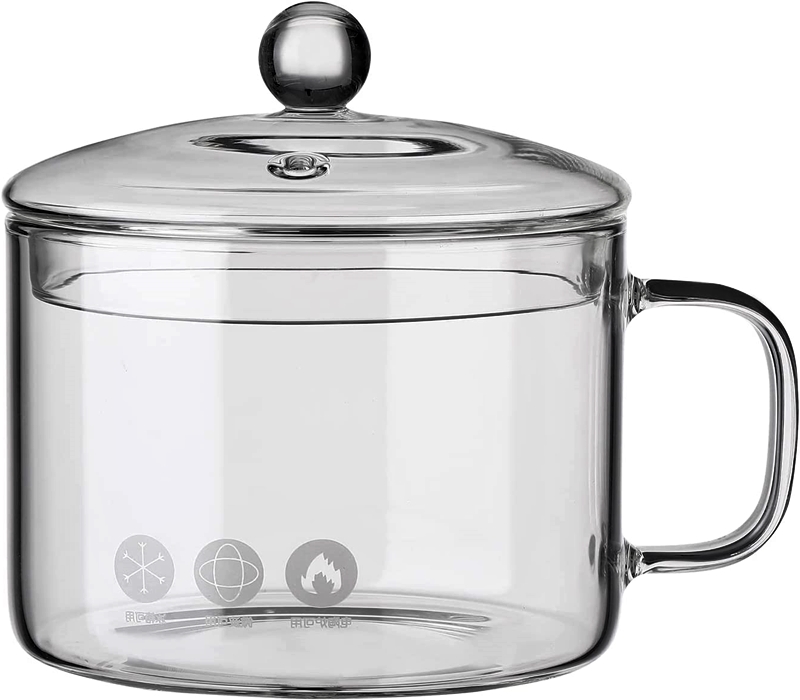
While using a pressure cooker is the most common and reliable way to sterilize mushroom substrates, it is possible to sterilize them without a pressure cooker. Here are the steps to sterilize mushroom substrate without a pressure cooker:
Prepare your mushroom substrate: You can use various materials as mushroom substrates such as sawdust, straw, or compost. You should first prepare your substrate according to your chosen method and recipe.
Fill your container: Once your substrate is ready, you should fill a heat-resistant container with the substrate. You can use a glass or metal container, but avoid plastic or other materials that may melt or release harmful chemicals at high temperatures.
Cover the container: Cover the container with aluminum foil, making sure it is tightly sealed. The foil will help prevent contaminants from entering the container during sterilization.
Place the container in a pot: Place the container in a large pot, and add enough water to the pot so that it comes up to about 1 inch below the top of the container.
Boil the water: Bring the water to a boil and then reduce the heat to maintain a simmer. Cover the pot with a lid.
Sterilize the substrate: Allow the container to simmer for at least 2 hours, checking every 30 minutes to make sure the water has not boiled away. Be careful not to let the container touch the bottom of the pot or the sides of the pot as this may cause the container to crack.
Cool down and remove the substrate: Once the sterilization time is complete, turn off the heat and allow the container to cool down completely before removing it from the pot. Once it is safe to open, carefully remove the aluminum foil and use the substrate for your mushroom cultivation.
Note that sterilizing mushroom substrate without a pressure cooker can be less reliable than using a pressure cooker, as the high heat and pressure of a pressure cooker are more effective at killing off contaminants. Make sure to follow your recipe carefully and ensure that your container and pot are heat-resistant and able to withstand the high temperatures required for sterilization.
How to sterilize mushroom substrate with an instant pot?
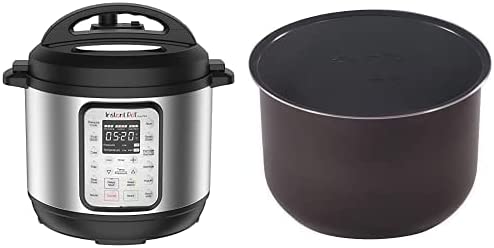
Sterilizing mushroom substrate with an Instant Pot is a convenient and efficient way to sterilize your substrate. Here are the steps to sterilize mushroom substrate with an Instant Pot:
- Prepare your mushroom substrate: You can use various materials as mushroom substrates such as sawdust, straw, or compost. You should first prepare your substrate according to your chosen method and recipe.
- Load your Instant Pot: Once your substrate is ready, you should load it into your Instant Pot. Make sure to leave some space at the top of the Instant Pot for the steam to circulate.
- Add water: You should then add water to your Instant Pot. The amount of water you should add depends on the size of your Instant Pot. Most Instant Pots have a minimum fill line that you should not go below.
- Close the lid: After adding water, close the lid of the Instant Pot and make sure it is locked in place.
- Set the Instant Pot: Press the “Pressure Cook” button on your Instant Pot and set the pressure to “High”. Set the cooking time according to your recipe, but it is typically around 60-90 minutes for most substrates.
- Sterilize the substrate: Allow the Instant Pot to come up to pressure, and then it will begin to sterilize the substrate. Once the cooking time is complete, allow the Instant Pot to naturally release pressure for at least 15-20 minutes before quick-releasing any remaining pressure.
- Cool down and remove the substrate: After the sterilization time is complete and the pressure has been released, carefully remove the substrate from the Instant Pot and use it for your mushroom cultivation.
Note that the sterilization time and pressure may vary depending on the type of substrate you are using and your recipe, so make sure to follow your recipe carefully. Additionally, it is important to ensure that your Instant Pot is functioning correctly and has a good seal to avoid any safety issues during the sterilization process.
It’s important to choose a sterilization method that is appropriate for your substrate material and meets your specific needs. Consult with experienced mushroom growers or reputable sources for guidance on which method is best for you.
Safety precautions to follow during the sterilization process:
- Always wear appropriate personal protective equipment (PPE) such as gloves and goggles when handling hot equipment or substrate.
- Follow the manufacturer’s instructions for the pressure cooker or other sterilization equipment to avoid accidents or injury.
- Avoid overcrowding the pressure cooker or other sterilization equipment, as this can lead to uneven sterilization and potential contamination.
- Never open the pressure cooker or other sterilization equipment before it has cooled down to room temperature, as this can cause burns or injuries.
- Make sure to properly label the sterilized substrate containers to avoid confusion or mistakes later on in the growing process.
How to handle and store the sterilized substrate?
our mushroom substrate will be in a sterilized state after the process is complete, but it’s not the end of the story. You need to allow the sterilized substrate to cool down to room temperature before handling or using it. Then you need to store it properly. You should keep your sterilized mushroom substrate in a dry, cool, and dark place until you use it.
You’ll need a container large enough to hold your mushroom substrate and a lid and preferably a lid that can be sealed tightly. This will prevent any contamination from getting to your substrate. You should also handle it with care. Don’t ever put your sterilized substrate in contact with any type of soap.
Tips for preventing issues in the future:
- Always follow recommended sterilization procedures and recipes for your chosen mushroom species and substrate.
- Keep your equipment and growing area clean and sanitized to prevent contamination.
- Monitor the sterilization process closely and make adjustments as needed.
- Keep records of your sterilization and growing processes to track any issues or successes and make improvements for the future.
Wrapping Up!
Sterilizing mushroom substrate is just one step in the exciting and rewarding journey of mushroom cultivation. We hope you enjoyed our blog about how to sterilize mushroom substrates.
Our target audience for this blog post is those who are new to mushroom cultivation and want to learn how to sterilize their substrate. It’s important to be aware of how to sterilize your substrate, especially if you want to avoid contamination.
With the right techniques and a bit of patience, you can grow your own delicious and nutritious mushrooms. So don’t be afraid to experiment and try new things – who knows, you might discover a new favorite mushroom variety in the process!
People also ask – FAQs
To ensure that the intended mushroom species grows without interference, it is essential to sterilize the mushroom substrate. Any microorganisms, including bacteria, fungus, and viruses, that could compete with the mushroom mycelium and produce subpar yields or fail entirely are eliminated during the sterilizing procedure.
It is crucial to handle the mushroom substrate carefully after sterilizing it to avoid contamination. When working with the substrate, always wear gloves and only use sterile equipment. Also, until it is prepared for inoculation with mushroom spores or mycelium, preserve the substrate in a clean and sanitary environment.
The mushroom substrate should be visually scrutinized for any indications of contamination, such as mold or discoloration, in order to verify that it has been sterilized. A tiny sample of the substrate should also be taken in order to look at it under a microscope in order to check for microbial growth. The substrate has probably been effectively sterilized if it appears clean and devoid of any impurities.
It is not advised to reuse sterile mushroom substrate. All microorganisms in the substrate are to be removed during the sterilizing procedure, including any useful microbes that support the growth of the mushroom mycelium. Contamination and low yields could result from reusing sterilized substrate. The best substrate to utilize for each batch of mushrooms is fresh.
The sterilization container for the mushroom substrate should be able to tolerate high pressure and temperatures. Autoclaves, pressure cookers, and canning jars are all acceptable containers. To stop any pollutants from entering the container during sterilization, it is crucial to make sure it is well sealed.

