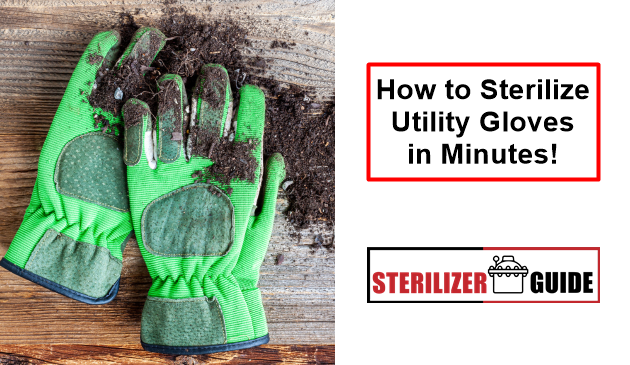
Do you get sick of dealing with dirty gloves all the time? So, my friend, it’s time for you to act independently! Imagine never having to be concerned about the dirt or bacteria that may still be present on your dependable work gloves. Yes, we will explain the techniques on how to sterilize utility gloves and keeping them perfectly clean in only a few minutes.
This information is your key to glove hygiene happiness, whether you wear your gloves for gardening, housework, or any other activities that call for hand protection. An immaculate pair of gloves that are prepared for action will replace the frustrating experience of wearing unclean gloves. Using our straightforward yet effective techniques, you will discover how to sterilize utility gloves properly.
So, grab those gloves, roll up your sleeves, and dive into the world of clean and sanitized hand protection. Your glove-wearing experience is about to level up!
Why Sterilize Utility Gloves?
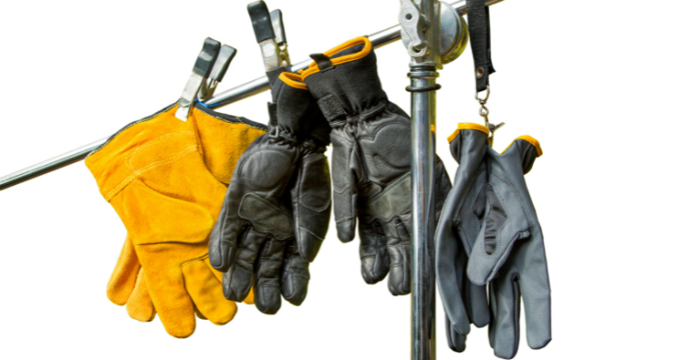
Before we delve into the step-by-step process of sterilization, let’s understand why it’s essential to keep your utility gloves clean:
Maintain Hygiene: Utility gloves come into contact with various substances, including chemicals, bodily fluids, and contaminants. Regular sterilization helps eliminate harmful bacteria and prevents cross-contamination.
Prolonged Lifespan: By sterilizing your utility gloves, you remove dirt, grime, and residue that can degrade the material and reduce its durability. Clean gloves last longer and offer optimal protection.
Enhanced Performance: Sterilized gloves provide better grip and tactile sensitivity, ensuring you can perform tasks precisely and efficiently.
Neglecting the risks associated with using dirty gloves can lead to cross-contamination, compromised hygiene, and increased transmission of pathogens. Regularly sterilizing gloves is essential to minimize these risks and maintain a safe and clean environment.
Now that we understand the importance of sterilization, let’s explore effective methods to keep your utility gloves clean.
Quick and Easy Methods to Sterilize Utility Gloves
Utility gloves play a vital role in various industries and everyday tasks, providing protection and maintaining hygiene. However, over time, these gloves can accumulate dirt, bacteria, and unpleasant odors, making them less effective and potentially hazardous. To maintain the quality and functionality of your utility gloves, regular sterilization is crucial.
Now, let’s walk you through the process of sterilizing utility gloves, providing you with practical methods to keep your gloves clean, fresh, and germ-free.
Method 1: Sterilizing Utility Gloves with Soap and Water
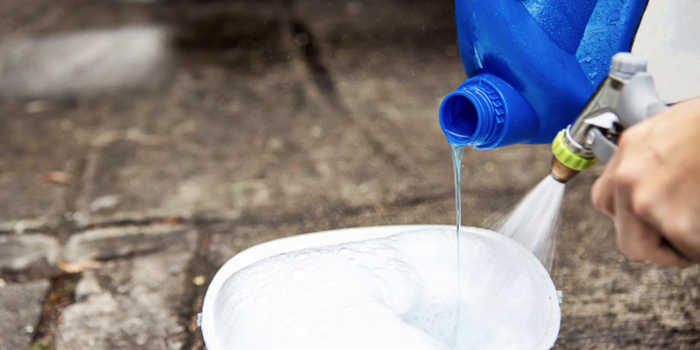
Soap and water are quite good at killing germs and cleaning utility gloves. Soap molecules have a particular structure that allows them to break down viruses’ lipid envelopes, preventing them from infecting. Furthermore, rubbing the gloves together while washing aids in the removal of bacteria, dirt, and other pollutants from the glove surfaces.
Step 1: Preparation
Gather the necessary supplies: mild soap, warm water, a clean towel, and a small basin or sink.
Step 2: Cleaning
Start with filling a sink or basin with warm water to start. To make a soapy solution, add a few drops of mild soap to the water and gently stir. Start rubbing the utility gloves together after putting them in soapy water. Scrub every surface and nook completely, paying special attention to regions like the fingertips and hands that are regularly in contact with dirt or other impurities.
Make sure all the dirt and residue are gone by continuing to rub the gloves for at least 20 seconds. Your utility gloves will benefit from this procedure, which will keep them clean and hygienic and get them ready for sterilization.
Step 3: Rinsing
Rinse the gloves under clean, running water, ensuring that all traces of soap are thoroughly washed away. As you rinse, squeeze the gloves gently to eliminate any excess water. This step is crucial for removing any remaining soap residue and ensuring the gloves are clean and ready for the next stage.
It’s important to let the gloves air dry completely, as using heat sources such as hair dryers or direct sunlight may cause damage to the gloves. Give them enough time to dry thoroughly before using or storing them, ensuring they are in optimal condition for future use.
Step 4: Drying
Once rinsed, it’s time to dry the gloves. Lay a clean towel flat on a surface, ensuring it is free from any dirt or contaminants. Place the gloves on the towel, spreading them out to ensure they are not overlapping. This allows for proper airflow and even drying.
Method 2: Disinfecting Utility Gloves with Rubbing Alcohol
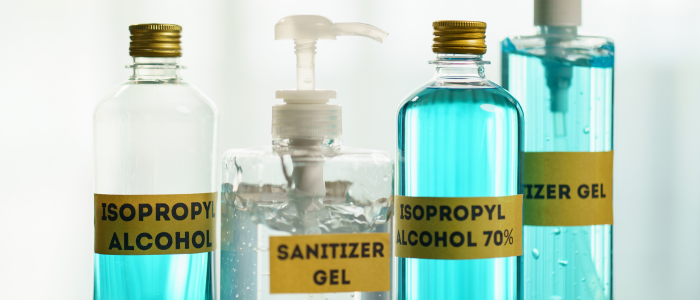
Rubbing alcohol is a very efficient way to disinfect utility gloves, assuring cleanliness and eradicating germs. Isopropyl alcohol, often known as rubbing alcohol, has potent antimicrobial qualities that can destroy viruses and germs on the surface of the gloves. Follow these steps:
Step 1: Preparation
Collect the necessary items: rubbing alcohol, cotton balls or pads, a clean towel, and a well-ventilated area.
Step 2: Cleaning
Moving on to the cleaning process, take a cotton ball or pad and dampen it with rubbing alcohol. With the alcohol-soaked cotton ball, gently rub the utility gloves, ensuring that you cover all surfaces thoroughly. Pay special attention to areas that appear heavily soiled or contaminated, such as areas exposed to dirt or substances.
Continue rubbing the gloves for at least 30 seconds, allowing the rubbing alcohol to effectively disinfect and clean the gloves. This step helps remove stubborn stains, dirt, and bacteria, leaving your utility gloves sanitized and ready for further use.
It is crucial to ensure that the gloves are placed on a clean towel or a drying rack to maintain hygiene and prevent any potential contamination. By allowing the gloves to air dry naturally, you allow any residual moisture to evaporate, leaving the gloves dry, clean, and ready for their next use. Remember, proper drying is essential to maintain the effectiveness and longevity of your utility gloves.
Step 3: Drying
After the cleaning and disinfection process, it is important to proceed with proper drying of the utility gloves. To do this, allow the gloves to air dry in a well-ventilated area. Choose a location where there is good airflow, such as near an open window or fan.
Method 3: Utilizing Ultraviolet (UV) Light to Sterilize Utility Gloves

In the quest for effective methods to sterilize utility gloves, harnessing the power of ultraviolet (UV) light has emerged as a promising technique. UV light can penetrate and destroy the DNA of bacteria, viruses, and other harmful microorganisms, making it an efficient and chemical-free sterilization option.
Let’s delve into the world of UV light sterilization for utility gloves and discover its benefits in safeguarding your well-being.
Step 1: Selecting a UV Light Source
Select a UV sterilization device or UV light box that is specifically designed for glove sterilization. Ensure that the device or box adheres to safety guidelines and is suitable for this purpose. It’s important to purchase a reliable and high-quality UV light source to achieve effective sterilization.
Step 2: Cleaning
Clean your utility gloves using the soap and water method mentioned earlier in this guide. Thoroughly wash and rinse the gloves, ensuring they are free from any dirt or contaminants. Allow the gloves to dry completely before proceeding to the next step.
Step 3: Placement
Open the UV sterilization device or box and carefully place the utility gloves inside. Make sure the gloves are evenly spread out and not overlapping, allowing the UV light to reach all surfaces of the gloves for optimal sterilization. Don’t put other things in the UV sterilizer with out knowing.
Step 4: Sterilization
Close the device or box and activate the UV light according to the instructions provided by the manufacturer. Follow the recommended duration for the sterilization process. The UV light will effectively kill bacteria and germs present on the gloves, ensuring their cleanliness and hygiene.
When using a UV light for sterilizing utility gloves, ensure to use a UV sterilization device or UV light box specifically designed for glove sterilization and follow the manufacturer’s instructions for proper usage and duration to effectively kill bacteria and maintain glove hygiene.
Step 5: Removal and Storage
Finally, after the sterilization cycle is complete, open the device or box. Carefully remove the sterilized gloves, ensuring you handle them cleanly and safely. Store the gloves in a clean and dry location to maintain their sterilized state until their next use.
You may also read: Best Ultrawave UV Portable Mask Sterilizer Review
Additional Tips for Maintaining Clean Gloves
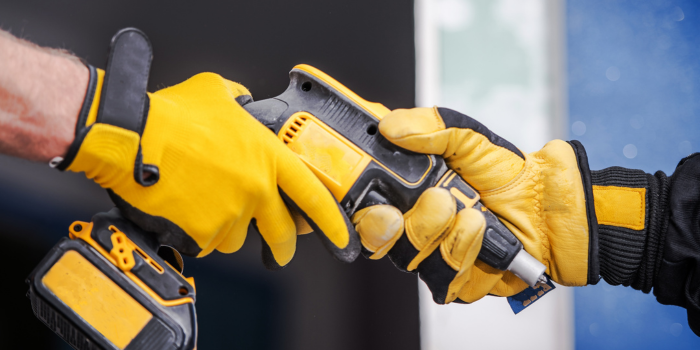
Regularly inspecting gloves for signs of wear, tear, or damage is crucial to ensure their effectiveness and prevent contamination. Replace gloves that are torn, punctured, or deteriorated to maintain optimal protection and hygiene.
Proper storage techniques to prevent contamination:
Properly storing gloves when not in use is essential to prevent contamination. Store gloves in a clean, dry, and well-ventilated area, away from direct sunlight, chemicals, or other potential sources of contamination. Consider using glove dispensers or individual storage bags to keep gloves clean and easily accessible.
Importance of personal hygiene and handwashing before wearing gloves:
Practicing good hand hygiene is vital to maintain cleanliness when using gloves. Wash hands thoroughly with soap and water before putting on gloves to prevent transferring dirt or germs onto the gloves. After removing gloves, wash hands again to eliminate any potential contaminants that may have accumulated during glove use.
Wrapping Up!
By regularly sterilizing your utility gloves, you ensure a hygienic and safe working environment. Whether you choose to wash them with soap and water, disinfect them with rubbing alcohol, utilize heat, or employ UV light, these methods will help maintain the cleanliness and functionality of your gloves. Remember to follow the specific instructions for each method to achieve optimal results.
Ensure that your utility gloves are clean and fresh, providing you with the utmost protection and peace of mind. Incorporate these sterilization techniques into your routine, and say goodbye to dirty gloves! Stay safe, and stay protected!

