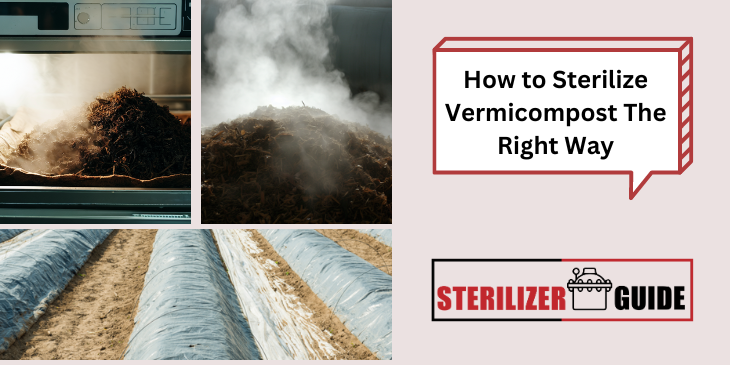
Earthworms are used in the environmentally friendly and effective process of vermicomposting, which turns organic waste into compost that is rich in nutrients. This organic technique creates great plant nutrients and reduces trash.
However, using unsterilized vermicompost can pose several risks to plants and human health. To make sure vermicompost is free of diseases, weed seeds, and pests, it must be sterilized before use. We’ll go over the significance of sterilizing vermicompost in this article and offer a detailed step-by-step guide on how to do it successfully.
Why Sterilize Vermicompost?

Any pathogens or bacteria that may be present in the vermicompost that is dangerous can be removed with the aid of sterilization. This is crucial if you intend to utilize vermicompost in a vegetable garden since it may include dangerous germs that could be hazardous to human health.
Additionally, if you intend to utilize the vermicompost in a potted or indoor environment, where you don’t want these undesirable organisms to establish a foothold, this can be crucial.
Sterilizing vermicompost is crucial for several reasons:
Eliminate Pathogens: Vermicompost may include dangerous bacteria, fungi, and viruses that can infect plants and people with diseases. Sterilization aids in eliminating harmful diseases, ensuring your plants are growing in a safe and healthy environment.
Destroy Weed Seeds: Weed seeds in vermicompost may grow and compete with your plants for nutrients, water, and sunlight. By eliminating these seeds, sterilizing vermicompost aids in preventing unwelcome weed growth in your yard.
Control Pests: Vermicompost may contain pests like nematodes, mites, and insects that can harm your plants. By helping to get rid of these pests, sterilization safeguards your plants from future damage.
Vermicompost can be sterilized to help eliminate dangerous infections or germs and manage the population of undesired organisms. However, it's crucial to balance the necessity of sterilization and preserving a robust microbial community in the soil. To preserve the beneficial microorganisms that make vermicompost such a desirable soil additive, sterilizing must be done with caution.
Methods of Sterilizing Vermicompost
Before using vermicompost as fertilizer, it is crucial to sterilize it to make sure it is free of dangerous pathogens and weed seeds. The quantity of your vermicompost, the equipment you have access to, and your personal tastes all play a role in determining the best approach for it.
There are several methods to sterilize vermicompost, including solarization, oven sterilization, and microwave sterilization. Let’s explore each method in detail and explanation of how to sterilize vermicompost using each approach.
Solarization Method

Vermicompost can be sterilized using the heat of the sun in an economical and environmentally beneficial way called solarization. Warm, sunny areas are ideally suited for this technique.
Vermicompost solarization procedures:
a. Spread the vermicompost thinly (about 1-2 inches thick) and evenly over a clean, flat surface, like a tarp or plastic sheet.
b. Place a clear plastic sheet over the vermicompost, sealing the edges to retain heat and moisture.
c. For 4-6 weeks, place the vermicompost in full sunshine. Pathogens, weed seeds, and pests found in the vermicompost will perish due to the heat produced by the sun.
d. To guarantee equal heating and sterilizing, turn the vermicompost once a week.
e. Remove the plastic sheet after 4-6 weeks and wait for the vermicompost to cool before using it in your garden.
This method has the potential to effectively manage diseases and pests without compromising the beneficial microorganisms in the vermicompost. To be effective, the compost must, however, be heated to a temperature of at least 140°F for an extended period of time. Additionally, in colder climates or during seasons with less intense sunlight, this method might not be feasible.
Oven Sterilization
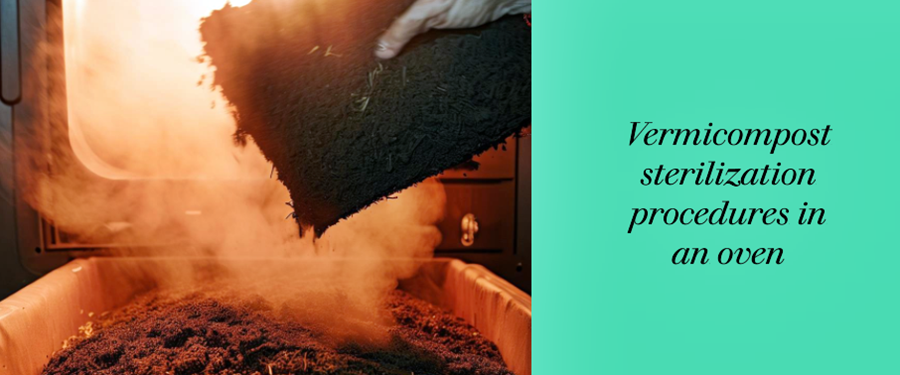
Vermicompost can be quickly and efficiently sterilized using dry heat by utilizing an oven. However, compared to solarization, it might produce offensive odors and use more energy.
Vermicompost sterilization procedures in an oven:
a. Set the oven’s temperature to 180°F (82°C).
b. Evenly spread the vermicompost in a thin layer (about 1-2 inches thick) in a shallow oven-safe container, like a baking tray or casserole dish.
c. To keep heat and moisture within the container, cover it with aluminum foil.
d. Bake the container for 30 minutes in the preheated oven. Pathogens, weed seeds, and pests present in the vermicompost will perish due to the heat.
e. After the container has baked for 30 minutes, take it out of the oven and let the vermicompost cool before applying it to your garden.
It's crucial to be cautious when using this method because overheating can result in the loss of beneficial microorganisms and valuable nutrients in the vermicompost. Additionally, because it can be time-consuming and might call for sterilizing multiple batches, this method might not be appropriate for large quantities of vermicompost.
You may also read: How To Sterilize Perlite at Home?
Steam Sterilization
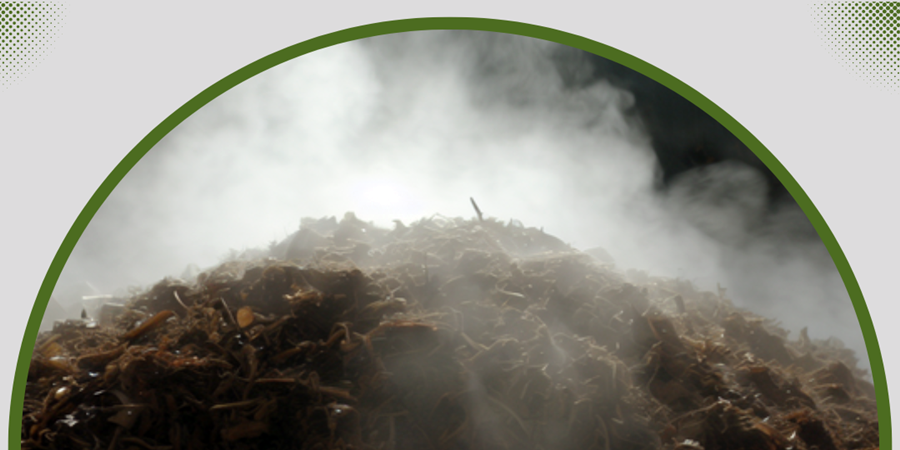
Vermicompost can be sterilized using the widely used steam sterilization technique. It works well at eliminating dangerous bacteria and weed seeds that might be in the compost.
Vermicompost steam sterilization procedures:
a. Water should be heated to a boil in a big saucepan or steam sterilizer.
b. In a metal container made for use with steam, put the vermicompost.
c. Put the metal container with the vermicompost in the steam sterilizer or the boiling water.
d. Vermicompost should steam for around 30 minutes in a covered saucepan or sterilizer.
e. After the procedure is finished, take the metal container out of the pot or sterilizer, let it cool, and then use it.
Effective for eliminating dangerous bacteria and weed seeds is steam sterilization. It is a home-based solution that is easy and affordable. However, it can take a while, especially if you need to sterilize a lot of vermicompost.
Microwave Sterilization
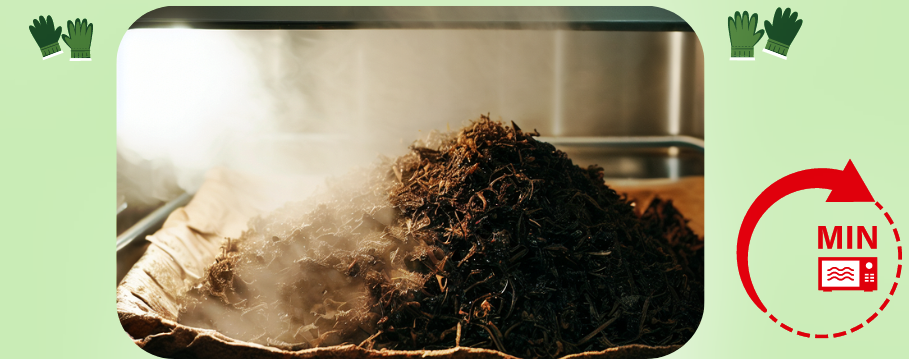
Another simple and efficient way to sterilize vermicompost using moist heat is to use a microwave. It is suitable for tiny amounts of vermicompost; however, it may cause offensive odors.
Vermicompost sterilization in a microwave:
a. Evenly distribute the vermicompost in a thin layer (approximately 1-2 inches thick) in a microwave-safe container, like a glass or ceramic dish.
b. Fill the container with a small amount of water to produce steam while sterilizing it.
c. Wrap the container in plastic wrap or a microwave-safe cover, allowing a tiny gap for steam to escape.
d. Depending on the size of the pile and the strength of your microwave, heat the vermicompost on high for 5 to 10 minutes. Pathogens, weed seeds, and pests that are present in the vermicompost will be eliminated by heat and steam.
e. Allow the vermicompost to cool after being microwaved before using it in your garden.
When using this technique, it's crucial to be cautious because overheating can make the vermicompost dry out and lose important nutrients. Additionally, because it can be time-consuming and might call for sterilizing multiple batches, this method might not be appropriate for large quantities of vermicompost. Last but not least, if this process is not carried out correctly, overheating could result in the vermicompost catching fire.
You may also read: How To Sterilize Coco Coir? – Complete Guide
Wrapping Up!
Vermicompost sterilization is a crucial step in ensuring a healthy and productive garden. You can successfully remove pathogens, weed seeds, and pests from your vermicompost by using the techniques described in this article, giving your plants a secure and nutrient-rich organic fertilizer.
No matter which sterilizing method you select solarization, oven, or microwave. Remember to handle vermicompost with care and utilize it sensibly to support sustainable gardening techniques.

